Showing posts with label picture. Show all posts
Showing posts with label picture. Show all posts

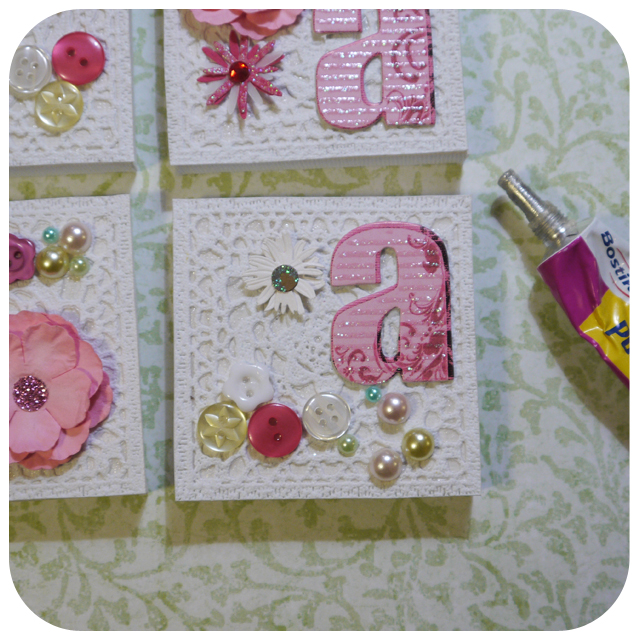
I made this cute little set of pictures for my niece. They are very easy to make and something you could do with kids too :)

You will need little canvases (one enough for each letter) .. some buttons ... some paper flowers ... a plastic lace table mat ... cardboard letters ... some pearls ... glue & scissors.


Measure the lace you need to cover each canvas.


Lay out the embellishments and letters on the lace how you would like them




I made this cute butterfly picture for my baby nieces 1st birthday ... I
am hoping it is something she can keep for years in her bedroom.

You need a box frame ... this one I got holds a picture just bigger than A4


You will need lots of paper butterflies, so I made a stencil by printing out a butterfly that I liked.


I had my nieces name printed onto a sheet of paper that I used for the background and then tried out different layouts for the butterflies to see which I preferred ...


I had to cut the double sided tape into thinner strips, but then stuck it on the back of each butterfly.


I then put it in the box frame


Remember those old keys from the other week? ... well I have made a sweet HOME SWEET HOME picture

Some 3 old keys (wire wool them so there is no rust on them), a box frame, paints, pretty paper, sticky pads and glue spots and HOME SWEET HOME printed on some white card.


I painted the keys in 3 different colours (Humbrol Enamel Paints) but if you wanted you could keep then their origonal colour, keep the frame black and make your HOME SWEET HOME in black too, maybe some old typewriting font ... that would look great.


I glued the pretty paper onto the backing card of the frame


I cut out the HOME SWEET HOME into 3 pieces, but if you wanted you could use letters from magazines and cut each letter out individually.
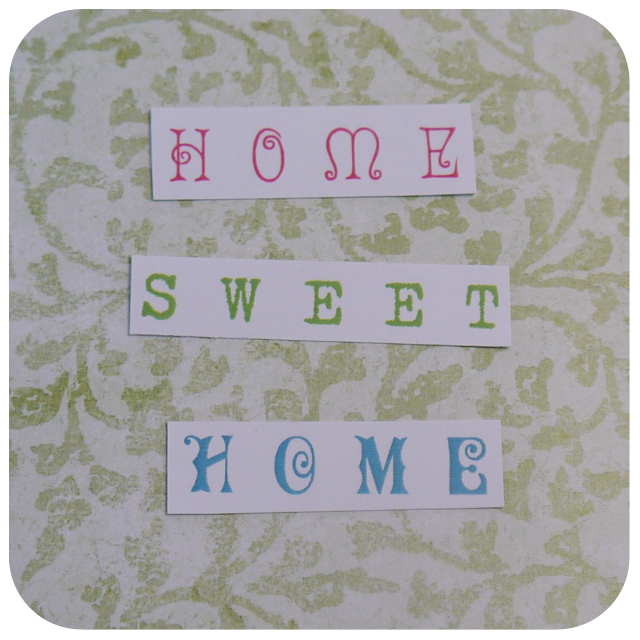
I then laid out the wording and keys onto the backing so I could space them and know where they were going.

I stuck 3 little stick pads onto the back of each word


I then removed the tape from the double sided tape around the edge and attached to the back of the mount.


I would LOVE to see any pictures you make :)
Hello

I am an English girl married to a lovely Welsh man with a couple of little wild boys. We live in a cosy log cabin high up in the Welsh hills with or gentle wolf, crazy dog and cute puppy!
I love all crafts, reading, dreaming, selling pretty things and cups of tea. I am trying to live a more healthy, holistic and green life.
I love all crafts, reading, dreaming, selling pretty things and cups of tea. I am trying to live a more healthy, holistic and green life.
Little Wooden Home

LOOK!
FREE Mushroom Cross Stitch Pattern
To go with my Meadow Field designs I have made this sweet little mushroom cross stitch design available as a FREE PDF printout! I have inclu...

explore my blog
photography
shopping
magpie monday
thrifting
essential oils
garden
diffuser blends
tutorial
jewellery
wool
sewing
shop
knitting
art
painting
diy
weaving
greetings cards
jewellery making
sayings
cross stitch
paper crafts
patchwork
embroidery
lacemaking
motherhood
seasonal tree
card making
woodwork
cards
felting
birds
maria in the wood
freebie
hearts
pottery
recipe
gardening


Copyright Maria Hogan. Powered by Blogger.
